 Skip to main content
 Replaced your Toyota’s ECM (Engine Control Module) and now your car won’t start? Don’t worry! This guide will walk you through the process of syncing your new ECU with your vehicle’s immobilizer system. The best part? You can do this at home with just a paperclip!
What You’ll Need
- A bare metal paperclip (or a small piece of wire)
- Your car key
- A fully charged battery OR a quality battery charger
- 30 minutes of patience
Before You Begin: Battery Check
This process requires your ignition to be in the “ON” position for 30 minutes without the engine running. This puts a significant drain on your battery.
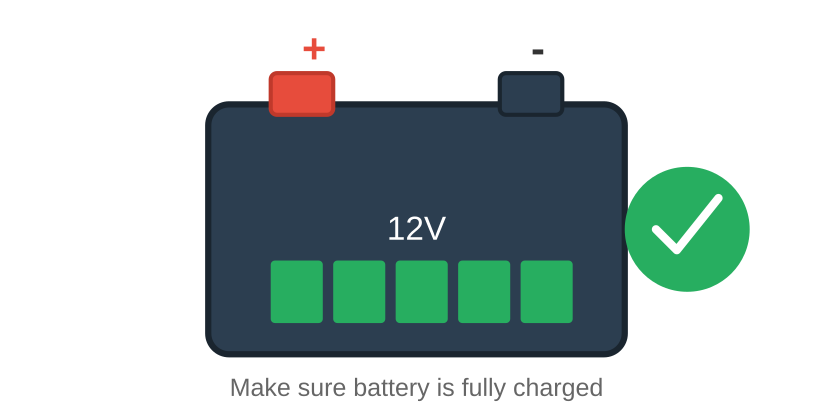
⚠️ Important: Make sure your battery is fully charged before starting. If the voltage drops below 12 volts during the process, you’ll need to start all over again!
💡 Tip: If using a battery charger during the process, make sure it’s NOT in “trickle” mode and is a quality charger to avoid electrical noise that could interfere with the sync.
Step-by-Step Sync Process
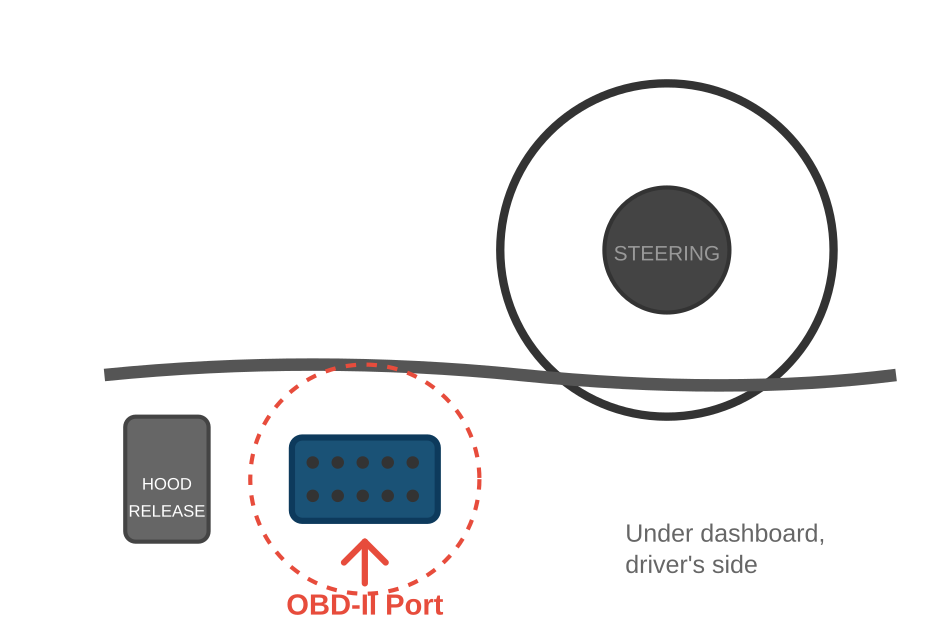
Step A: Locate the OBD-II Diagnostic Port
The diagnostic port is located under the dashboard on the driver’s side, below the steering wheel, near the hood release lever. It’s a 16-pin connector arranged in two rows (8 pins on top, 8 on bottom).
Step B: Jump Pins #4 and #13
With the engine OFF and key in the OFF position, use a bare paperclip to connect pins #4 and #13 on the OBD-II port.
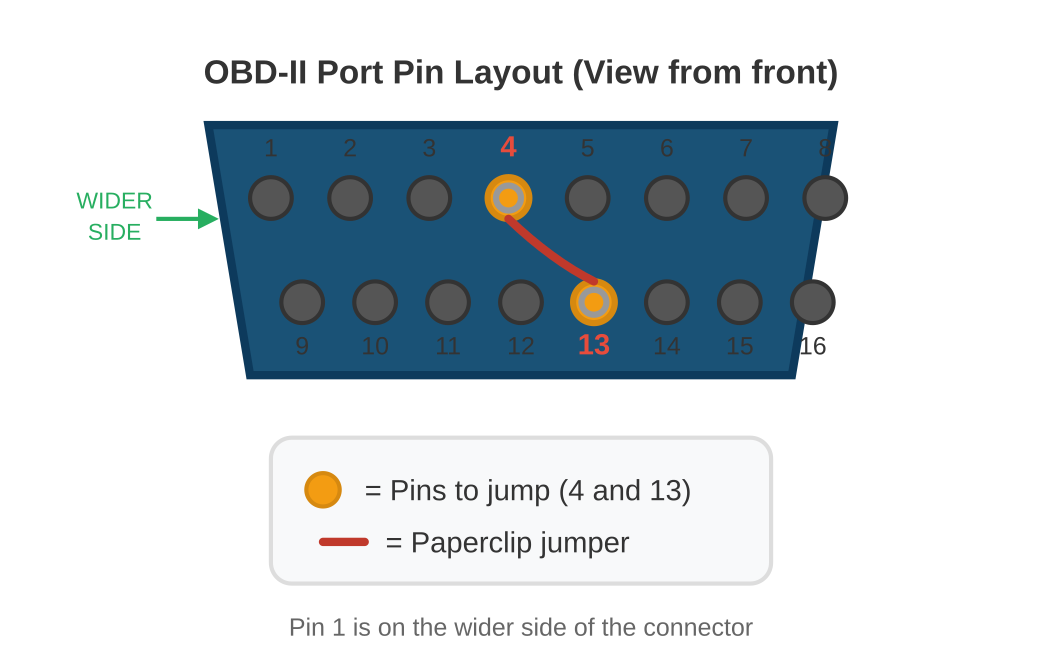
Important: The OBD-II port is shaped like a trapezoid. Pin 1 is on the wider side (top row). Count from left to right:
- Top row (wider): Pins 1-8
- Bottom row (narrower): Pins 9-16
You need to connect Pin 4 (top row, 4th from left) to Pin 13 (bottom row, 5th from left).
Step C: Turn Ignition to “ON” Position
With the paperclip in place, turn the key all the way forward to the “ON” position (right before engaging the starter). Leave it there for 30 minutes.
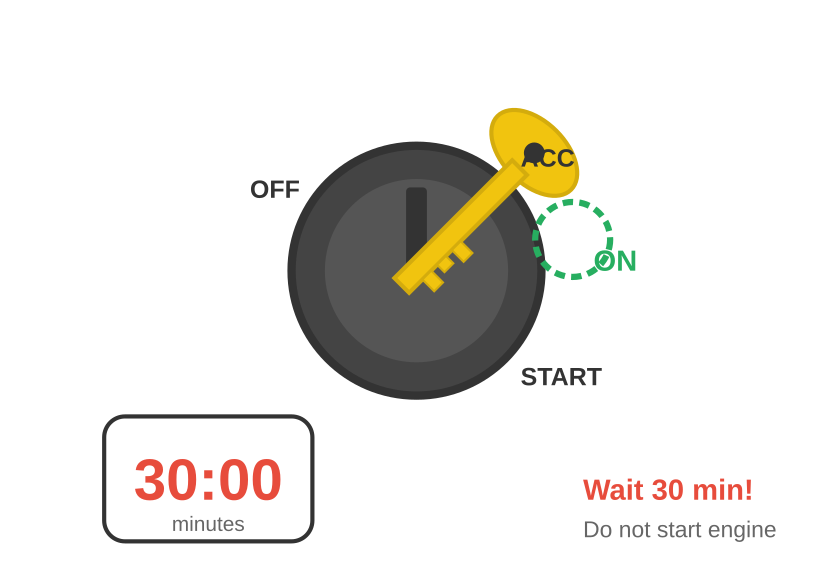
You should see various dashboard lights start flashing. This indicates the sync process is working correctly!
⚠️ Important: If the lights don’t flash, check your paperclip connections. Make sure you’re using pins #4 and #13, and that there’s good electrical contact.
Step D: Complete the Process
After 30 minutes:
- Turn the key to the “OFF” position
- Remove the paperclip from the diagnostic port
- Try starting the engine
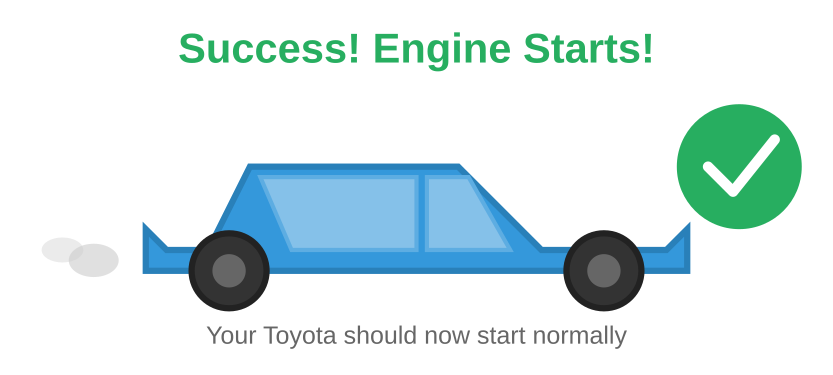
Your engine should now start normally!
Step E: Adding Extra Keys (Optional)
Want to program additional keys? Here’s how:
- Insert each new key into the ignition
- The security light will blink once, then turn solid
- To exit programming mode: cycle the key ON and OFF 5 times quickly
- Alternative: Add 3 keys total to automatically exit programming mode
The security light will turn off when programming mode ends.
Troubleshooting
Engine still won’t start? If you’ve followed all the steps correctly and the engine still won’t start, the ECM may need professional programming. Contact your ECU supplier for further assistance.
Common issues:
- Wrong pins jumped – double-check you’re using #4 and #13
- Poor connection – make sure the paperclip makes good contact
- Battery voltage dropped – recharge and try again
- Interrupted process – must complete full 30 minutes without interruption
Summary
- Charge your battery fully
- Locate the OBD-II port under the dashboard
- Jump pins #4 and #13 with a paperclip
- Turn key to ON position
- Wait 30 minutes (watch for flashing lights)
- Remove paperclip and start the engine
This guide is for Toyota vehicles with standard immobilizer systems. Always consult your vehicle’s manual for model-specific instructions.
